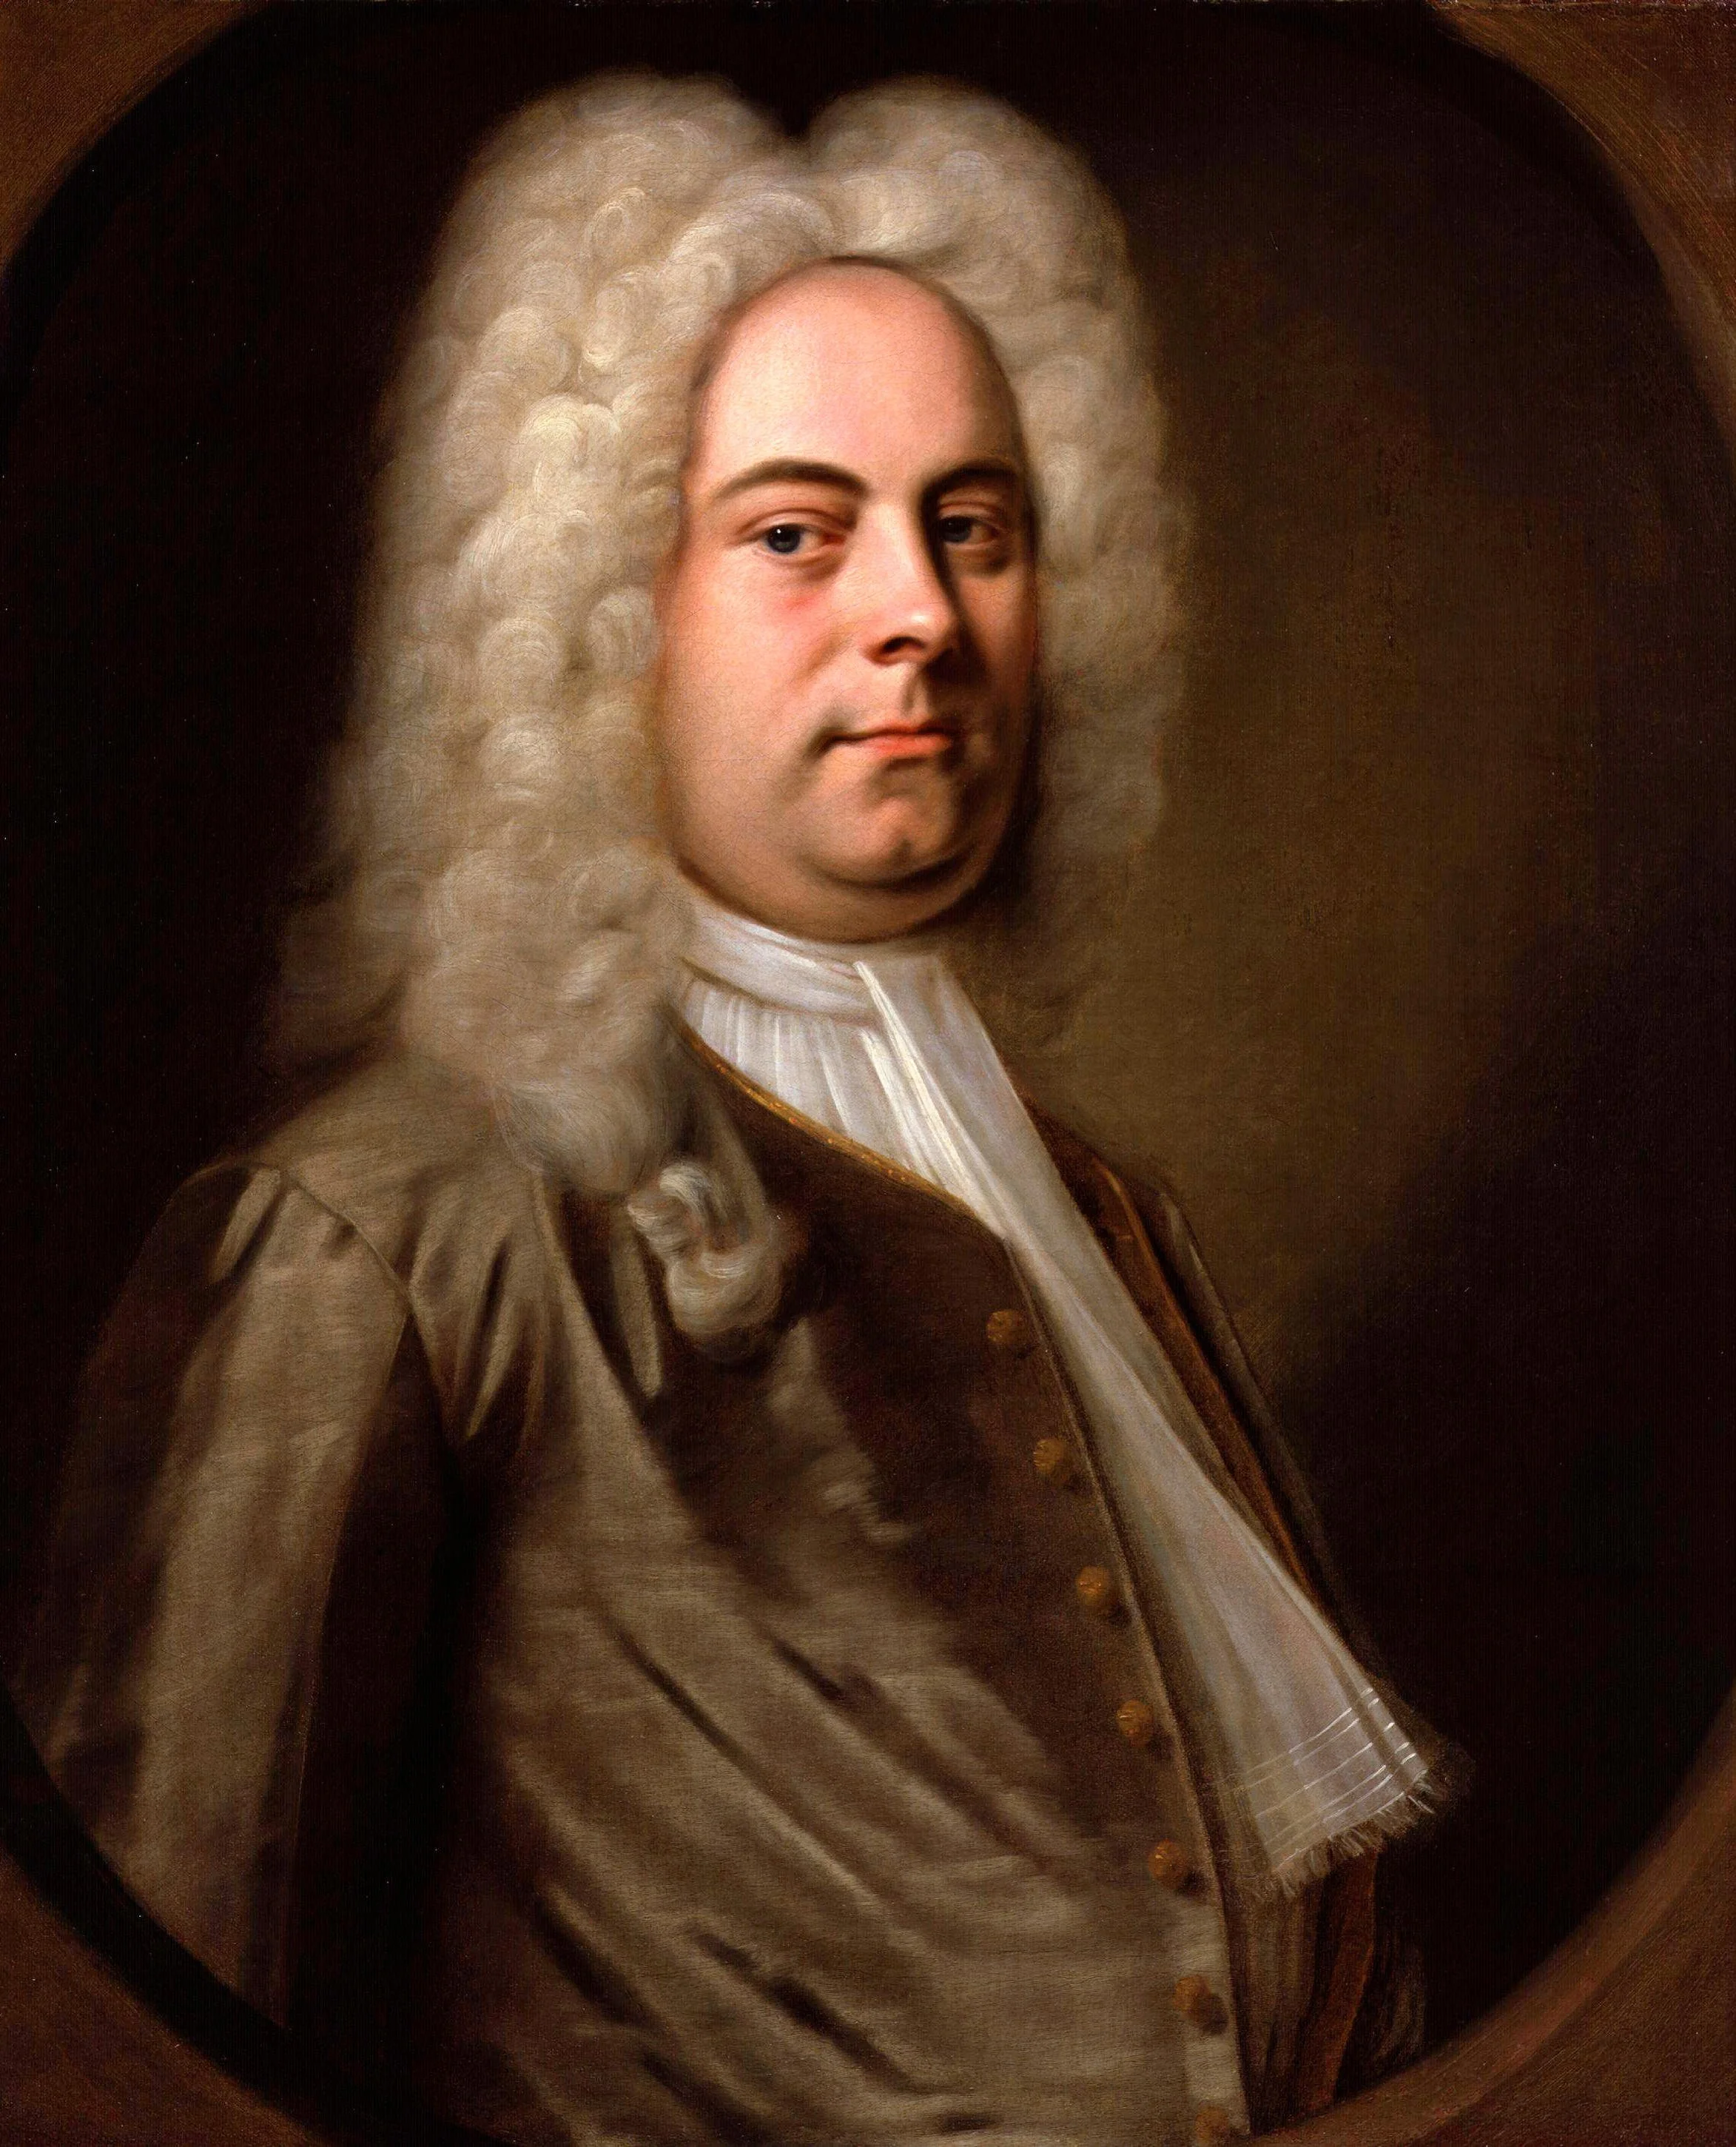
From Alamy.com
Sonatina in B flat Handel Grade 4 ABRSM 1999 – 2000
Character/story of the piece – this piece has been in the syllabus possibly in the Grade 3 syllabus in 1961 and the Grade 4 syllabus in 1980. Without identification it is difficult to ascertain whether this is true or nor. Considering the number of ornaments that are present in this piece, this may be the reason why it hasn’t been used as frequently as it could have. This is a pity, as it is such a delightful piece of Handel’s with unexpected melodic movements yet entirely satisfying to play and to hear. The playing of the ornaments, although daunting, can certainly be achieved with patience and attention to detail. There is more information concerning the ornaments below.
The ABRSM Teaching Notes commences with the following excellent statement ‘don’t let the ornaments put you off considering this sprightly, sparkling and scintillating sonatina. A successful performance will certainly require excellent fingers, control and confidence, but it is also a gem of a piece, being both attractive and impressive’. On one of the copies I have, there is the following footnote ‘this is a mature piece, probably dating from about 1722, and no doubt intended for teaching purposes. It is written in two-point counterpoint (treble and bass must be accorded equal weight) with lively exchange between hands’.
In this piece the player could imagine a walk being taken by two people, with each hand representing each person. As they are walking, they are having a conversation; on some occasions the L.H. voice is reacting to what the R.H. has had to say. The player could also imagine that each hand depicts a particular instrument with the L.H. representing two instruments, one providing the harmonic basis for the music and the other taking on a melodic role.
Form – this piece does not seem to fall into any form as such. It has an episodic and cumulative character. There is a modulation to E flat major by the end of the third phrase in bar 11.
Main part of the music – one suggestion is to have this occurring in bar 16, although it could also occur in the penultimate bar. Considering the musical period from which this piece belongs, the dynamics, although bright and intense in the louder sections, should never be harsh or strident.
Phrasing – many of Handel’s pieces do not fall neatly into four bar phrases. This piece though is an exception, as it has five phrases, all of which except the final phrase, end with a R.H. crotchet. The L.H. though continues as these points and this serves to connect one phrase to the subsequent one. Not all of the phrases are the same length, the first phrase for instance is only two and a bit bars long whereas the final phrase is four and a half bars long.
Tempo, time signature and rhythmic patterns – some copies of this music suggest a tempo of c.126 crotchet beats per minute however this speed is really a little fast for most players. Absolute clarity and evenness must be maintained and at that speed this may not occur. An appropriate tempo is c.108 which allows the piece to maintain its buoyance and energy without sounding breathless. Obviously too slow a tempo will not allow the music to have the momentum and excitement it deserves. As the ABRSM notes state ‘observe all the rests throughout. The point at which you release a rest will be just as important as the moment you play it’.
Touch/articulation – the staccato notes must be played with a short and detached touch. Well-rounded fingers supported by a relaxed arm and supple wrist is vital. A small amount of weight needs to be added to the first note of the two-note slur and when lifting off the second note of the two-note slur, the player should remain in contact with the key as it lifts. Because the L.H. has two roles to fulfil in this piece, the player should use a tenuto touch when playing the L.H. crotchet notes as this will provide them with resonance and depth. Whatever articulation is decided upon needs to be consistent, and as with ornaments, the player should consider why they are articulating the melodic patterns in the manner that they choose. Often the use of the two-note slur highlights the sequential patterns. Apart from the two-note slurs any changes in dynamics should be achieved by a quicker or slower descent into the key bed.
Balance between the hands – the balance is to the R.H. in areas such as bars 4 – 6 where the L.H. is playing a set of ascending and descending crotchets. At all other times both hands have equal roles to play so the player must understand which hand they need to highlight according to where the melody happens to occur. There is a delightful section in bars 11 – 15 where the hands are ‘feeding’ off each other; they are questioning and answering each other all the time.
Dynamics – as already discussed the dynamics applied to this piece must be thought of in relation to the dynamics of the Baroque period and what the instruments of the time would have been capable of. Sudden changes in dynamics such as a subito piano at the beginning of the fourth phrase will add drama and tension to the music prior to the following crescendo. Wherever a crescendo or diminuendo is applied the player must guard against, for example, the crescendo just getting louder without any areas where it pulls back for a time. The highest note of a phrase is not necessarily the loudest. All the ornaments must be considered on a dynamic basis – is the loudest part of the ornament at the start, in the middle or near the end? And, another consideration is the placement of the ornament in the phrase? This will of course determine the character and drive of the ornaments and how they contribute to the overall momentum of the music.
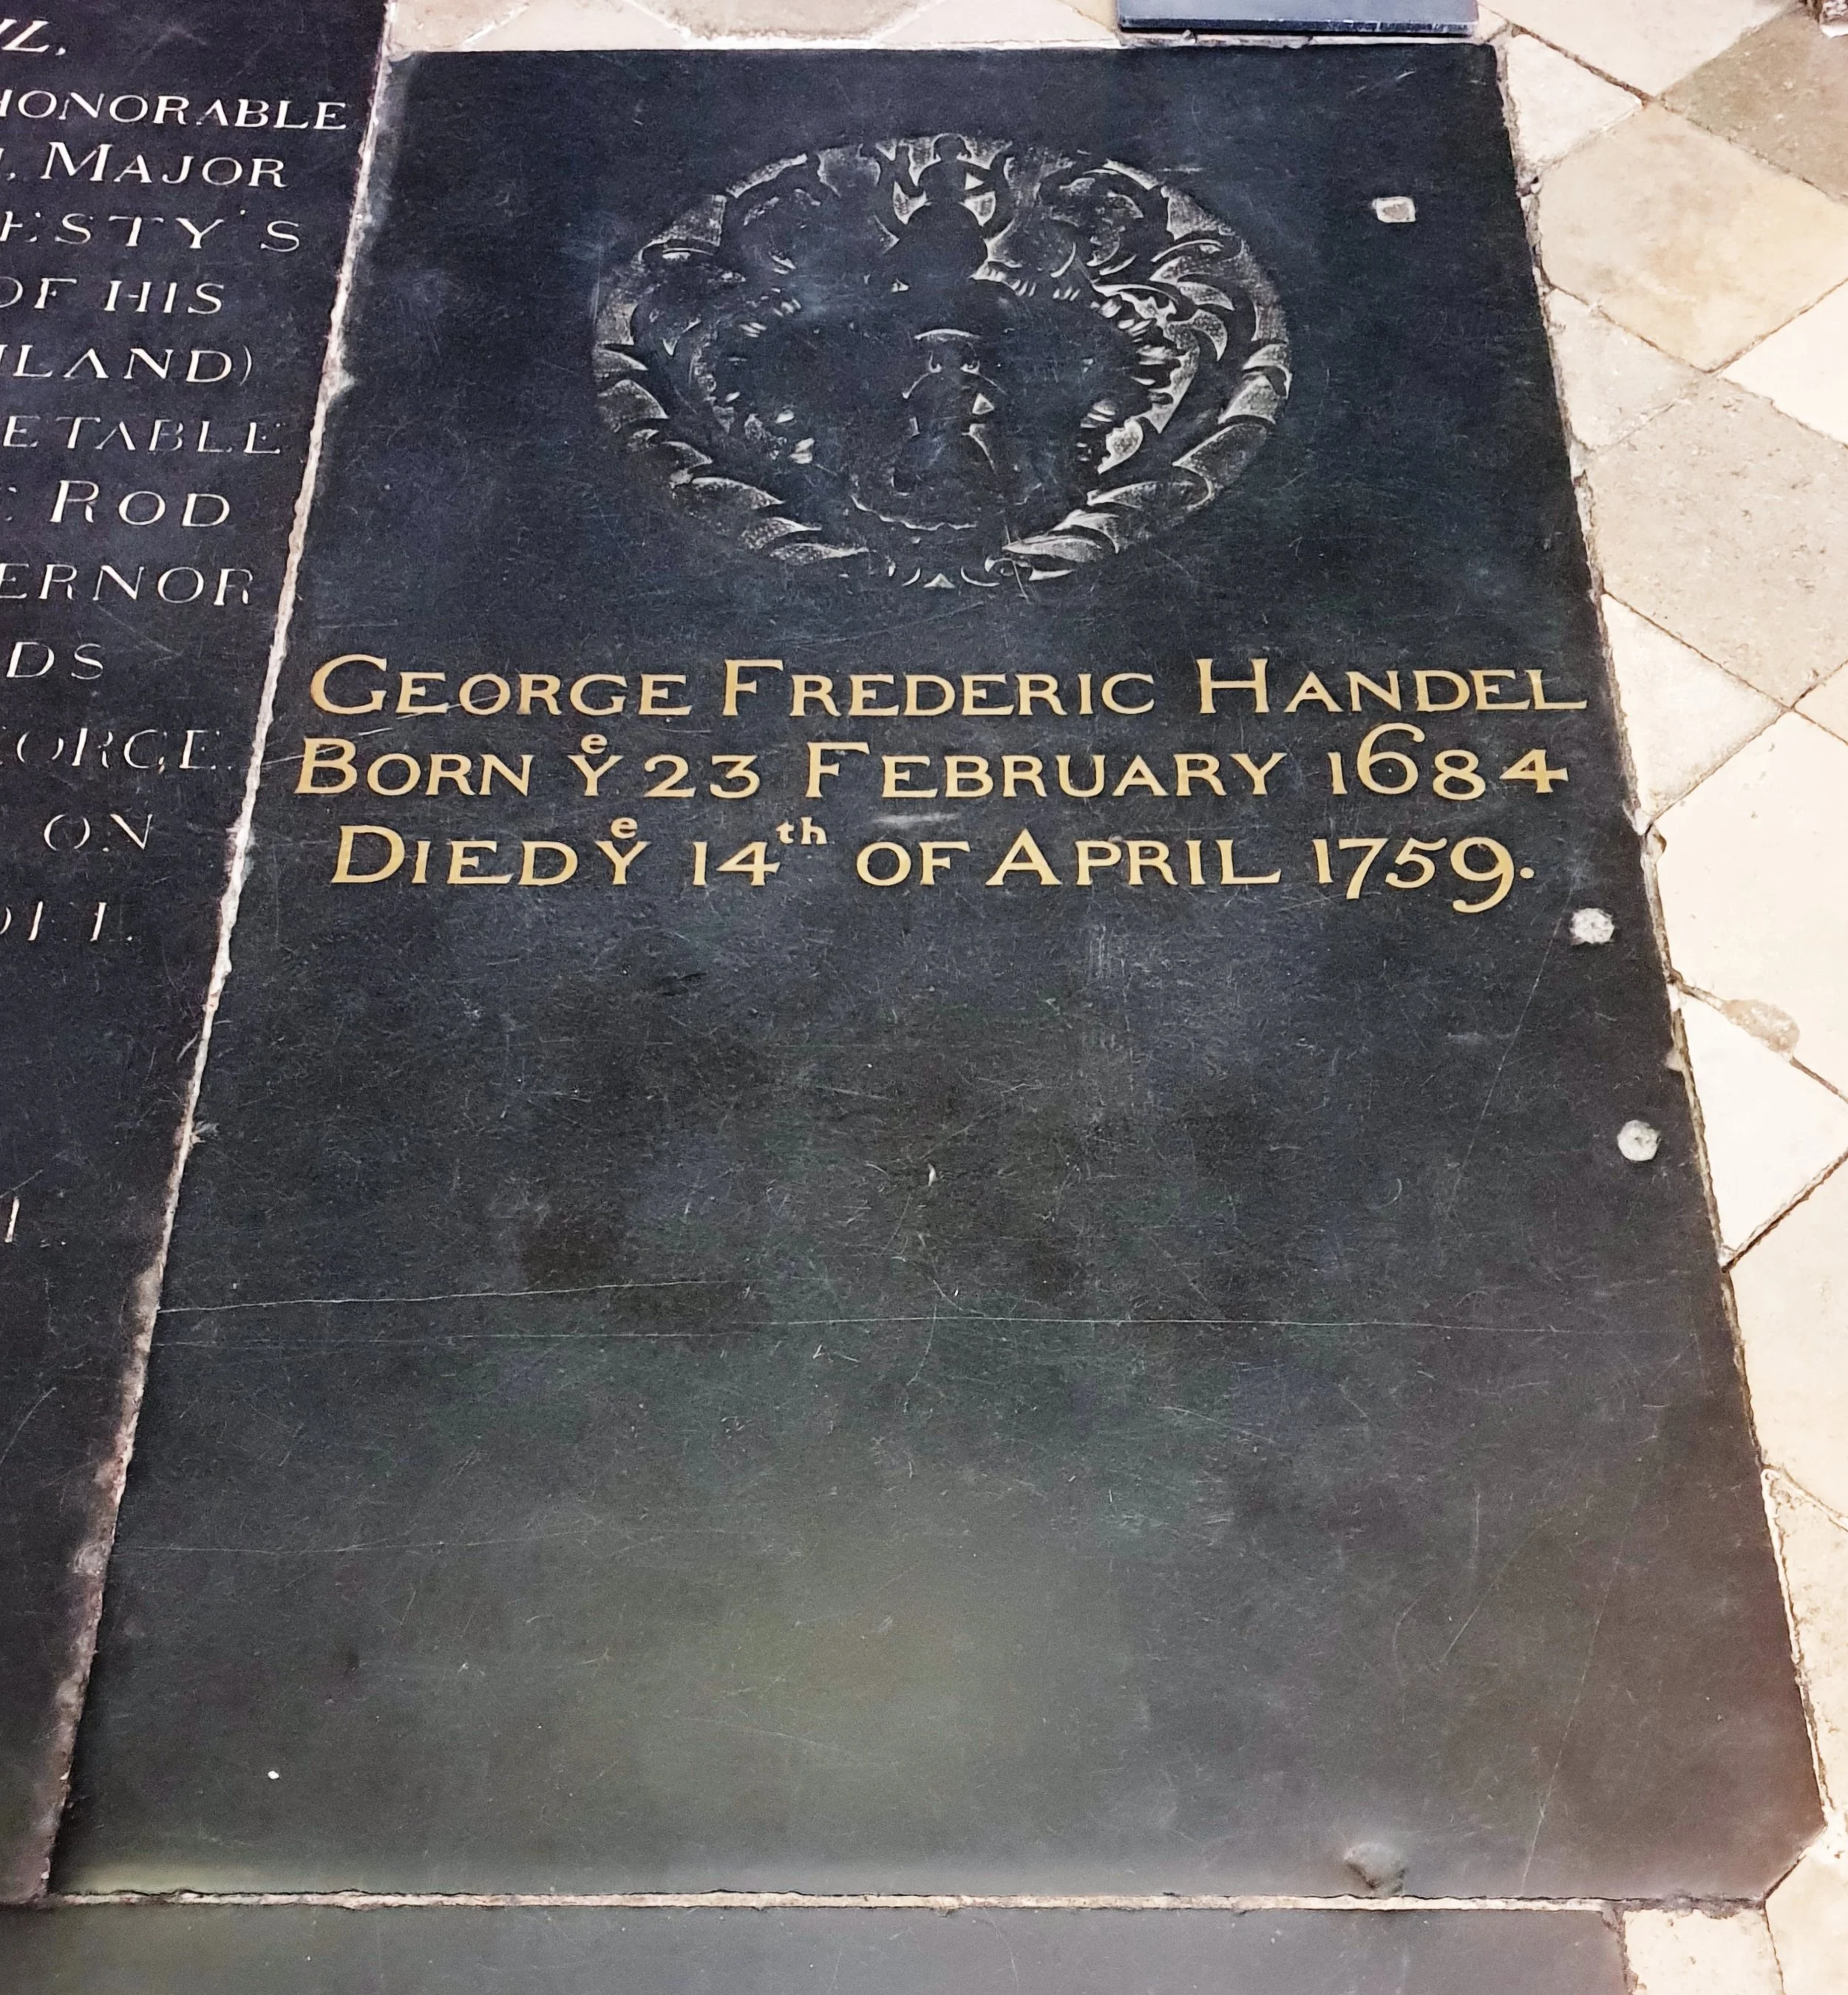
By JRennocks - Own work, CC BY-SA 4.0, https://commons.wikimedia.org/w/index.php?curid=106364496
Ornaments – it is best to break down what type of ornaments are present in this piece, as obviously many are repeated. There are lower mordents as well as trills, with both used together in bars 10 and 11. Wherever ornaments are used the player must consider why the composer has used them in the music and how they affect the character of the piece. In addition to this, knowing which instrument the music was composes for is valuable to know. Why, for instance, has Handel used the lower mordent, rather than the upper mordent? And, why has Handel placed these ornaments in the positions that they are in? The trills seem to have been used for helping to sustain the note, as they are placed on either crotchets or dotted quavers. In the dotted quavers instance, the trill amplifies the fact that the note is dotted. On four occasions Handel has used a mordent on a crotchet note in bars 2, 3, 11 and 17; here Handel is highlighting these notes providing a degree of tension to the music. It would be advisable to learn the music slowly with the ornaments in position from the start. Often, adding the ornaments into the music at a later stage causes hesitations, a slowing of the tempo where they are positioned and a sudden surge in the dynamics as the player endeavours to play them. In my experience, using some kind of time names when learning ornaments is extremely useful. Once they are learnt individually, they can be played with the L.H., for example the L.H. should be played of bar 1 and 2 and only the ornament is played in the R.H. without any cessation of the tempo in the L.H. In addition to this, use of the metronome is vital, for example an appropriate speed can be chosen, and the player can play the individual ornaments where they occur within the bar. When playing these ornaments, the player must be conscious of how they are using their right arm. The right arm must support the hand in its playing providing enough from for the elbow and shoulder to move. The arm needs to relaxed and balanced. Consciously dropping the shoulder but not allowing any weight from it, will allow for a relaxed playing of the ornaments. Some ornament shave an ‘attack’ effect whilst others merge with the melodic line.
Agogic effects – a slight rallentando at the end of the piece is appropriate. No other agogic effects should be used; to a certain extent Handel has written some pauses by the use of longer notes at the ends of phrases.
Considerations when playing this piece –
· It is interesting to note that although the piece commences on the first beat of the bar, the R.H does not begin playing until part way through the first bar. This provides the music with a kind of upbeat beginning.
· Handel has provided many excellently positioned rest throughout this piece and the player would be wise to use them to prepare for what is coming next which often involves a change of hand position.
· There is a melody present in, for example, bars 5 and 6 where the first note of the two quaver patterns has a melodic role.
· Bars 9 and 10 are quite awkward, the melody and momentum must be maintained even though the ornaments make it sound quite disjointed.
· The R.H. B flat in bar 16 is a poignant notes; pulling back a little on the dynamics at this point will help to highlight this note.
References
Teaching Notes ABRSM 1999 – 2000, published 1998


